Backup Your Linux Server in Minutes: A Step-by-Step Guide

Log in to your Datashelter client portal
First, go to your client portal at https://app.datashelter.tech.

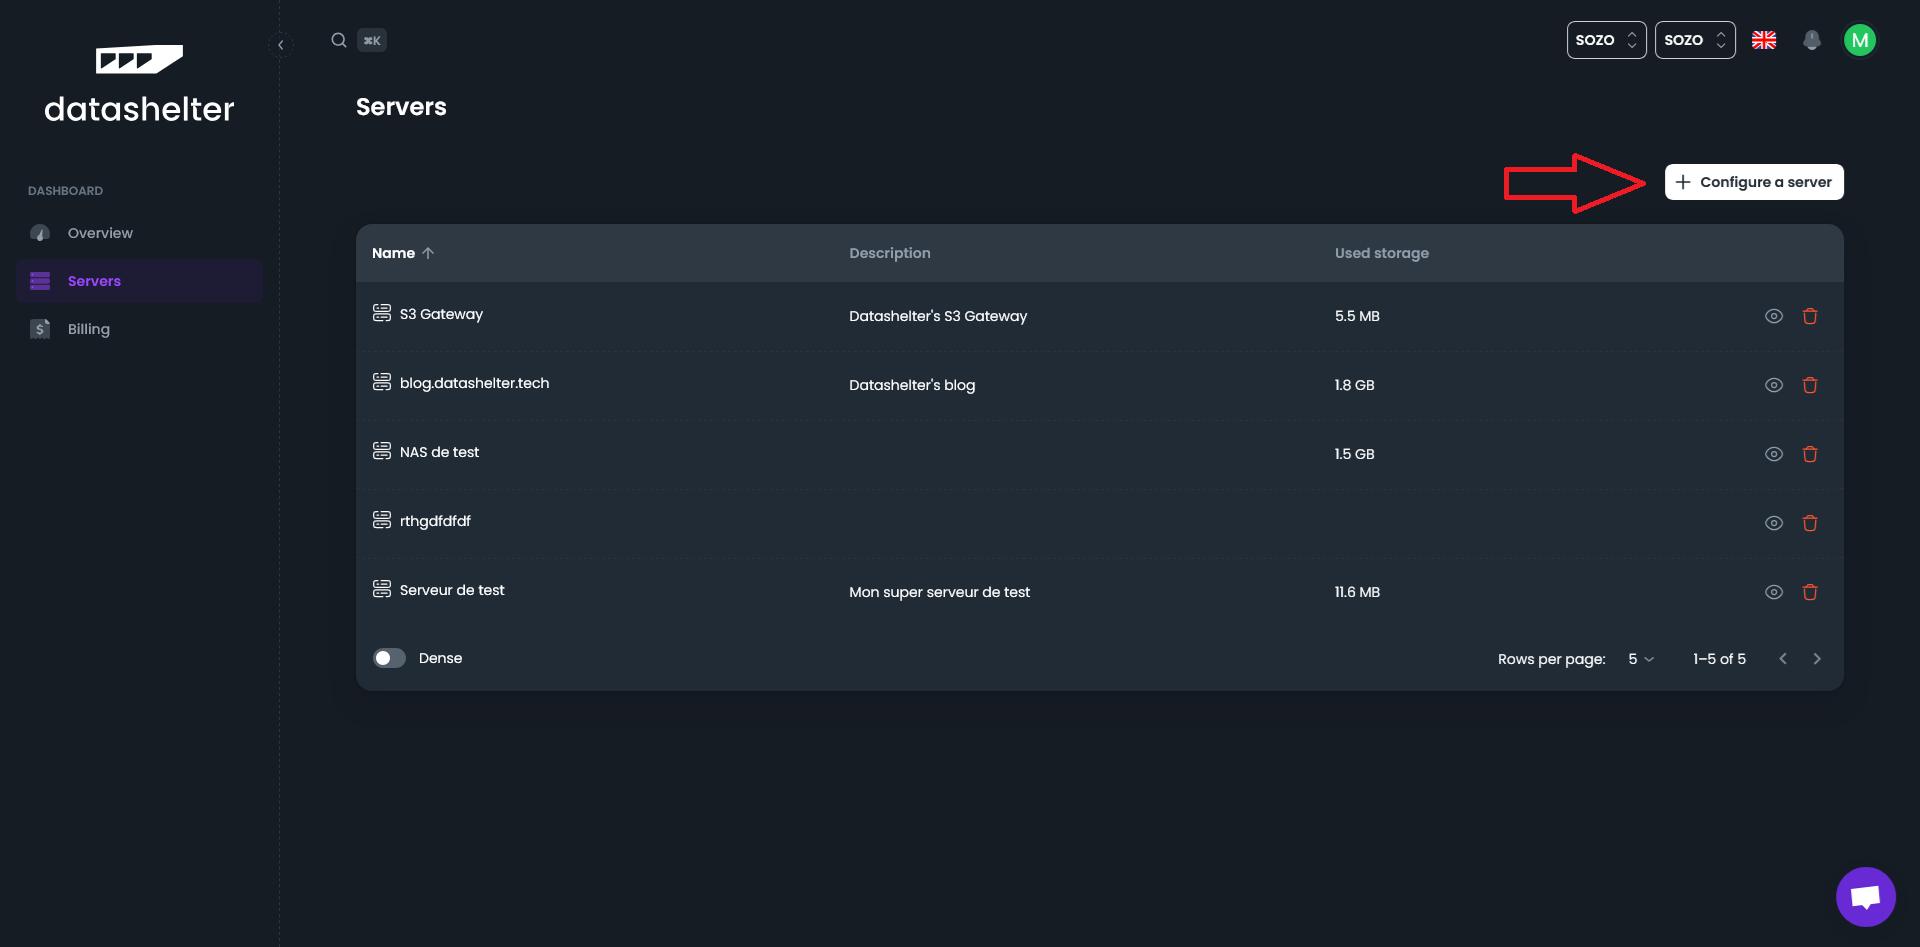
Once logged in, navigate to the Servers tab and click the Configure a Server button.

Configure your server from the web interface
Provide a name and description
Choose a name and description for the server you want to back up. These are purely for reference to help you identify the server later.

Select applications to backup
Next, select the applications you want to back up. The Files + MySQL option is the most common, as it works for the majority of modern CMS platforms (WordPress, Joomla, Drupal, etc.).

Specify file and database paths
To enable Datashelter to generate the appropriate launch commands, you need to specify:
- The absolute paths of the directories to back up.
- The names of the databases to back up.
If you’re unsure, remember that you can add new services later. This step is just an initialization.

Schedule automatic backups
Finally, set a frequency for each of your backups. Behind the scenes, snaper (our command-line tool) will automatically keep the cron jobs updated to ensure your backups run on schedule.

Once this is set up, you should see the following screen. You’ll need to open an SSH terminal and connect to your server to continue.

Configuration via the Terminal
Install snaper
The first suggested command installs snaper on your server. This command downloads a simple binary and places it in /usr/local/bin/snaper.
curl -sSL https://dl.datashelter.cloud/scripts/install-snaper.sh | bash
If everything goes smoothly, you should see an output similar to this:
mpaletou@XPS-MALO:~$ curl -sSL https://dl.datashelter.cloud/scripts/install-snaper.sh | bash
% Total % Received % Xferd Average Speed Time Time Time Current
Dload Upload Total Spent Left Speed
100 19.0M 100 19.0M 0 0 14.7M 0 0:00:01 0:00:01 --:--:-- 14.7M
[sudo] password for mpaletou:

snaper version 3.6.4
Configure Snaper
The second command configures snaper on your server using the pre-generated credentials provided in the web interface. These credentials are specific to your server.
AWS_ACCESS_KEY_ID="2FES84RHAXG0R0I719DH" AWS_SECRET_ACCESS_KEY="bpk/RQ2eVBtCh+v6Rvl3cf2MJqrO/RXQC707W/Jq" DATASHELTER_BUCKET="677fe1014a30ae6e2e6159fb-5l217" snaper init
All suggested parameters can be confirmed without changes, except for the encryption key, which you’ll need to define. This key will be stored on your server (in ~/.config/snaper/.encryption_key) and used to encrypt all your backup data.

Run your first backup
Finally, start backing up your files and databases using the following commands, adapted to your environment:
MYSQL_PASSWORD=root_password snaper backup database --type mysql --name wordpress --host localhost --port 3306 --username root
snaper backup files --path /var/www/wordpress
screen or tmux.
Congratulations! 🎉
You’ve completed your first backup with Datashelter!
You’ll notice that your online portal has updated and now displays your backups. Additionally, the list of cron jobs on your server has been updated. You’ll receive email notifications in case of any issues during your backup process.


